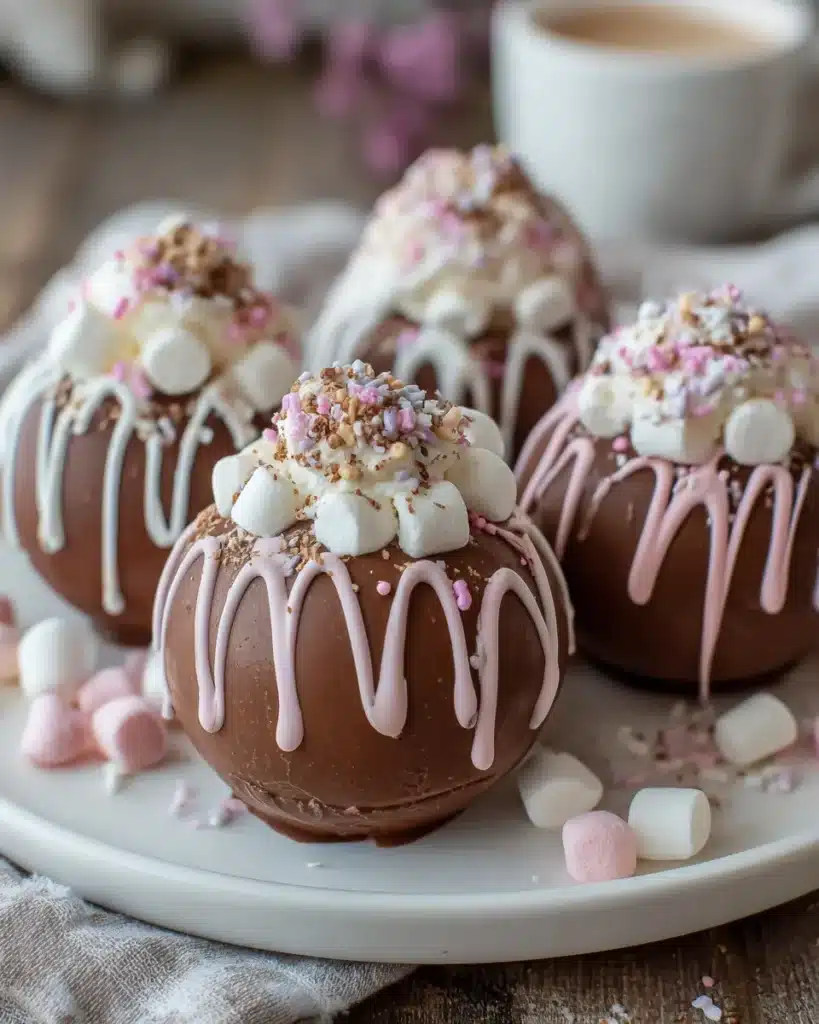
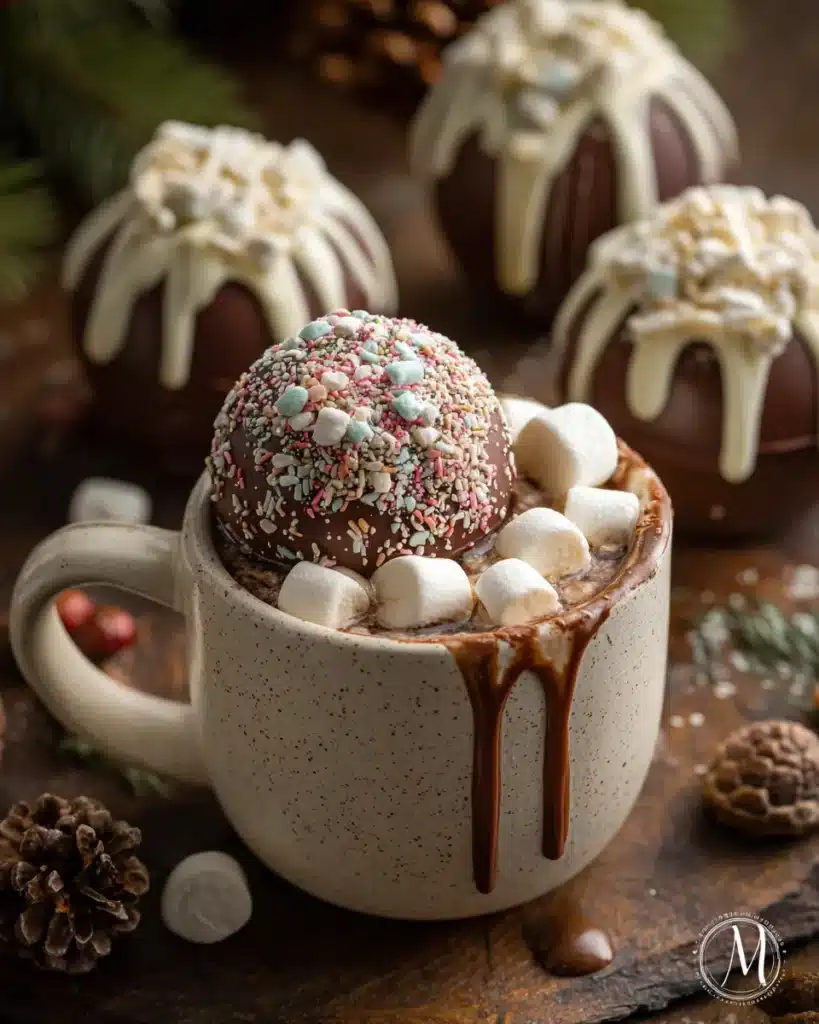
Hot chocolate bombs have taken cozy treats to a whole new level. Have you ever watched one of these magical spheres melt into a steaming mug of milk, releasing a cascade of cocoa mix and marshmallows? Hot chocolate bombs I’m making for the 3rd time this week are just that enchanting experience wrapped up in a chocolate shell.

If you’re new to hot chocolate bombs or looking to perfect your version, this recipe and guide will walk you through everything you need. From choosing the right chocolate to troubleshooting common issues, you’ll be ready to craft the tastiest, most impressive treat for winter nights or anytime you want a warm hug in a cup.
Why I Can’t Stop Making These Cookies
- Instant crowd-pleaser: The surprise inside always delights kids and adults alike.
- Flavor-packed: You can easily customize with spices or flavored chocolates for a new twist.
- Pantry-friendly ingredients: Most require just chocolate, cocoa mix, and marshmallows.
- Kid-friendly assembly: Little hands love helping fill and seal these bombs.
- Seasonal appeal: Perfect for holiday gifting or cozy winter evenings by the fire.
What Type of Chocolate Should I Use?
For the best results, use high-quality couverture or baking chocolate that melts smoothly and hardens with a glossy finish. Milk, dark, or white chocolate all work well depending on your flavor preference. Avoid chocolate chips labeled “chip” as they contain stabilizers and won’t melt cleanly.
If using chocolate bars, chop into small, even pieces for a consistent melt. For chocolate melts or wafers often used in candy-making, no chopping is needed.
Fresh chocolate must be stored at room temperature in a cool, dry place to prevent bloom (white streaks), which affects appearance but not taste.
Options for Ingredient Alternatives
- Butter or coconut oil can be melted with your chocolate to adjust texture melt slowly, especially if using coconut oil, and chill bombs to set.
- Swap milk chocolate for dark or white chocolate based on sweetness preference.
- Use almond, oat, or soy milk powders inside for dairy-free options.
- Add a dash of peppermint, orange, or vanilla extract to the cocoa mix for flavor variations.
- For a fruity surprise, use freeze-dried raspberries or cherries inside instead of marshmallows.
The Biggest Challenges While Baking
- Tempering chocolate: Avoid overheating or rapid cooling, which causes uneven texture; melt slowly over a double boiler or in short bursts in the microwave.
- Handling delicate fillings: Fold marshmallows or freeze-dried fruit in last and gently to prevent crushing.
- Avoiding overmixing cocoa mix: Stir just enough to combine so your filling stays light and fluffy.
- Fixing thin or runny chocolate: Add small amounts of powdered sugar or cocoa to thicken before molding.
- Chilling time: Allow bombs to fully set in the fridge for at least 30 minutes so they hold shape during packaging or transport.
Storage & Freezing Instructions
Hot chocolate bombs can be stored at room temperature in an airtight container for up to 2 weeks. For longer storage, layer bombs between parchment paper quarters inside a sealed container and freeze up to 3 months.
If making well in advance, assemble fully frozen and thaw at room temperature before gifting or serving. Avoid condensation by allowing the frozen bombs to come to room temperature slowly inside their container.
Estimated Nutrition
For a batch of six hot chocolate bombs (about 3 inches in diameter each), rough totals are:
- Calories: 720–900 total (120–150 per bomb)
- Fat: 38–50 g total (6–8 g per bomb)
- Sugar: 60–75 g total (10–12 g per bomb)
- Protein: 6–8 g total (1–1.5 g per bomb)
Nutrition varies depending on chocolate type and additional flavorings.
Ingredients
- 12 ounces (340 g) high-quality milk chocolate or chocolate melts
- 1/2 cup (50 g) hot cocoa mix, your favorite blend
- 1 cup mini marshmallows (50 g)
- Optional: 1/4 tsp peppermint or vanilla extract
- Optional: 1/4 cup freeze-dried raspberries or other berries (15 g)
- Optional: extra melted chocolate for sealing
Step-by-Step Instructions

- Chop the chocolate into small, uniform pieces if using bars. Melt chocolate gently over a double boiler or in 20-second bursts in the microwave, stirring in between until smooth.
- Lightly grease silicone half-sphere molds or use a sphere mold designed for chocolate bombs. Spoon or brush melted chocolate onto the inside of each mold half. Make sure to coat evenly and cover edges well.
- Place the molds in the fridge for 10 minutes, then add a second thin layer of chocolate for sturdiness. Refrigerate again until fully set, about 20–30 minutes.
- Carefully remove chocolate halves from molds. Fill one half with 1 to 2 tablespoons of hot cocoa mix, mini marshmallows, and optional flavorings or freeze-dried fruit.
- Warm a plate or shallow pan. Gently press the open edges of an unfilled half sphere onto the warm surface just long enough to soften the edges (a few seconds), then quickly press it onto the filled half to seal into a complete sphere.
- Let the assembled bombs chill in the fridge for another 10–15 minutes to set the seams.
- Serve by placing a bomb in a mug and pouring 8 ounces (240 ml) of hot milk over it. Watch it melt and stir in the melted chocolate and cocoa mix before sipping.
Tips, Variations & Serving Ideas
- Stir in cinnamon or pumpkin spice into your cocoa mix for seasonal flavors.
- Use edible glitter or colored sprinkles to decorate the bomb’s exterior before chilling.
- Store bombs in airtight bags layered with parchment paper to avoid sticking.
- Underbake slightly if making your own marshmallows to keep them extra gooey inside.
- Gift in clear boxes tied with ribbon for a special homemade touch.
- Use dark chocolate with chili powder for an adult spicy twist.
- Pair a bomb with a cute mug or small whisk for a fun hot cocoa kit.
FAQs
Can I make hot chocolate bombs ahead of time?
Yes, they keep well at room temperature for two weeks or in the freezer for up to three months.
What milk works best to melt the bombs?
Whole milk creates the creamiest drink, but any milk or milk alternative will melt the chocolate effectively.
How do I prevent the chocolate from cracking?
Apply thin, even layers and chill thoroughly between coats to avoid cracking when unmolding.
Can I reuse the molds?
Yes, silicone molds are reusable and easy to clean with warm soapy water after use.
Save This for Later
If you love cozy winter treats, save this recipe and share it on Pinterest so your friends can make these magical hot chocolate bombs too. Nothing beats the fun of melting your own chocolate surprise at home!


Leave a Reply